


Simple sewing instructions are included in the pattern.
Unlike a standard box-pleated skirt, this design features pleats positioned lower on the skirt.
The pattern lines are intentionally shaped so that the pleated sections open slightly.
The side sections have a gently curved shape.
Fabric with some body is recommended rather than very soft fabric.
A belt pattern is also included, although it is not shown in the illustration.
Use a 22 cm invisible zipper for this pattern.
After printing, align the pages along the guide lines, paste them together, and cut out the pattern pieces. Seam allowances are included, so you can use the pattern as-is.

*Please press all sewn seams with an iron.
(1) Sew the darts, then press the seam allowances toward the center with an iron.
(2) Finish the raw edges on both sides of the Body and Body Side pieces.
 How to Serge/overlock (sewing machine & overlock sewing machine)
(3) Sew the Body and Body Side pieces together up to the stitch stop mark, then press the seam allowances open with an iron.
(4) Finish the raw edges of all hems. Fold each hem up 1 cm (0.5 in), press with an iron, and stitch.
(5) Sew the topstitching before attaching the pleated fabric.
(6) Finish the raw edges of the entire pleated fabric, then attach it. Hand sewing gives the neatest finish, but fusible bonding tape may also be used.
*Attach the pleated fabric so that it does not show from the front where the lower edges overlap.
*The design is intentionally shaped so that the pleated fabric spreads slightly. If the fabric does not have enough body, apply fusible interfacing to give it more structure.
(7) Apply stay tape only to the zipper side on the left. Sew up to the stitch stop mark, press the seam allowances open with an iron, then attach the invisible zipper.
(8) Sew the right side seam, then press the seam allowances open with an iron.
(9) Attach the skirt waistband, then attach four belt loops at the Body seam positions.
(10) Sew the Belt using the bagging method, turn it right side out, topstitch to stabilize its shape, then attach the belt hardware.
*Using eyelets for the belt hardware holes will give a neater finish.

If you cannot see the SHOP due to 403 error
Price: ¥500 (JPY)
Approx. USD — / EUR — (for reference)


Ladies'-S
waist62cm length37.5cm 10sheets of A4 size

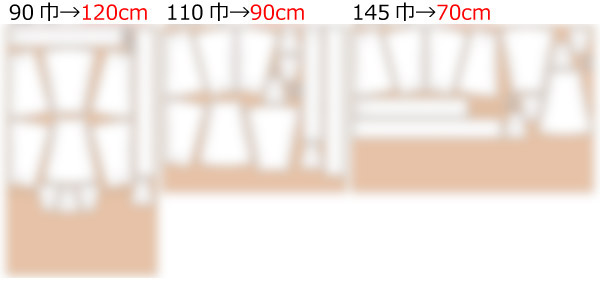
Ladies'-S
waist24.4in length14.8in 10 sheets of letter size

Ladies'-M
waist68cm length39.5cm 11sheets of A4 size
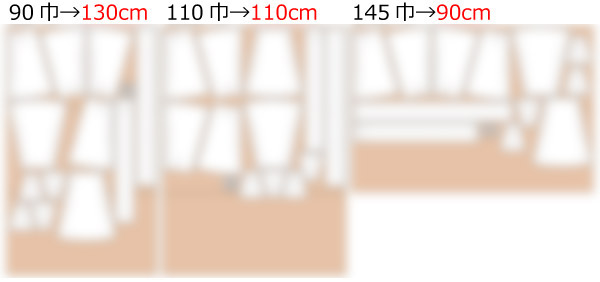
Ladies'-M
waist26.8in length15.6in 12 sheets of letter size
Ladies'-L
waist74cm length41cm 11sheets of A4 size

Ladies'-L
waist29.1in length16.1in 12 sheets of letter size


 Paper pattern & how to make
 How to use Paper pattern
 Each process How to make
 Shop
Shop
 X(Twitter)
 pinterest
 Instagram
 facebook
 Contact Us/Q&A
 Japanese Site