![]()
Comments are made using translation software.
This is a pattern and instructions for making a leotard using leotard fabric or 2-way stretch fabric material.
The basic construction includes sleeves and a zipper.
You can customize the pattern to your liking by making high-leg lines, removing sleeves, or other adjustments to fit your image.
The neckline can also be made in two different styles, and a simple type without a zipper is also possible.
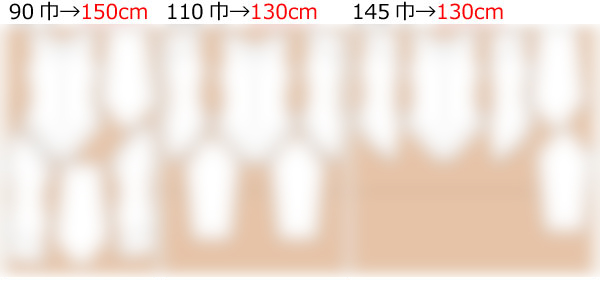
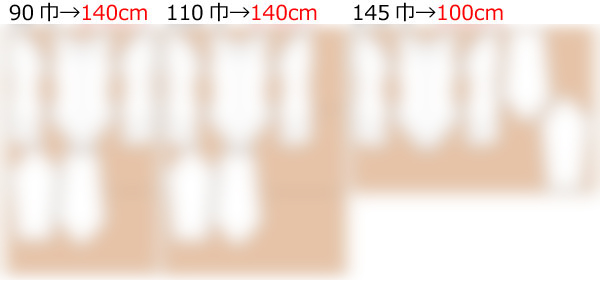
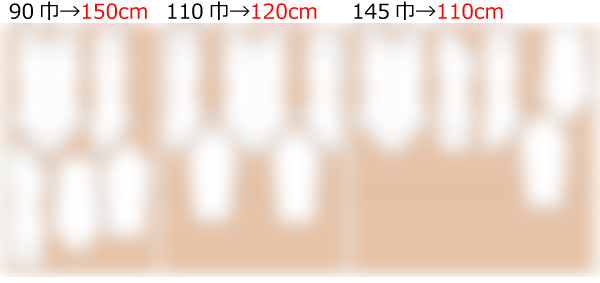
After printing, paste it according to the pasting line,Cut and use.
The pattern has a seam allowance, so it can be used as is.


I'm not so good at English.
So all explanations/instructions were translated using AI.
This is not always perfect and I apologise for any parts that are difficult to follow.
*When making a leotard, be sure to use fabric with 2WAY or equivalent stretch.
*When sewing, please use Elastic sewing thread.
*If making a design without a zipper, skip steps (2) and (3), and instead sew the "Back bodice" together and press with an iron.
(1) Serge/overlock "Front bodice" shoulders and both sides, "Back bodice" shoulders, sides, and back center line, "Sleeve" both sides, and "Sleeve" hem.
![]() How to Serge/overlock (sewing machine & overlock sewing machine)
How to Serge/overlock (sewing machine & overlock sewing machine)
(2) Apply stay tape to the stay tape position on the "Back bodice", then sew from the inseam to the sewing stop position, pressing open the seam allowance with an iron.
(3) Attach a zipper to the "Back bodice".
(4) Seam together the shoulders, sides, and inseam of the "Front bodice" and "Back bodice", pressing open the seam allowance with an iron.
(5) Serge/overlock around the ankle area, then fold 1cm (0.5in) and sew on a sewing machine.
(6) Process around the neck with bias tape.
*Use bias tape made from the same material fabric.
(7) Seam together the sides of the "Sleeve", pressing open the seam allowance with an iron, then fold the "Sleeve" hem 1cm (0.5in) and sew on a sewing machine.
(8) Attach the "Sleeve" to the "Body" and serge/overlock the armhole.
If you cannot see the SHOP due to 403 error
Price: ¥700 (JPY)
Approx. USD — / EUR — (for reference)
![]()

bust30.7in waist24.2in hip33.9in 11sheets of A4 size(or legal size)
Sleeve parts 39 size
bust33.5in waist26.8in hip37in 11sheets of A4 size(or legal size)
Sleeve parts 40 size
bust36.2in waist28.9in hip39.8in 13sheets of A4 size(or legal size)
Sleeve parts 43 size