


![]()
Comments are made using translation software.
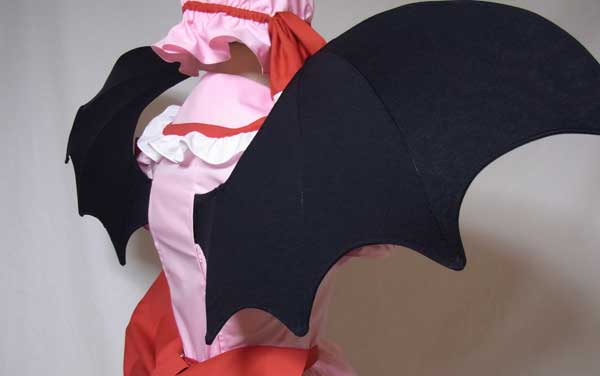
Here is the pattern for the blouse seen in the photo.
This is a puff sleeve blouse pattern designed for cosplay costumes, specifically for winged characters where feathers are attached to the back.
The structure includes openings closed by zippers, which can be helpful for making such costumes.
It features a large collar with a stand, irregular button shapes, and shirring at the cuff of the puff sleeves, with many intricate details.
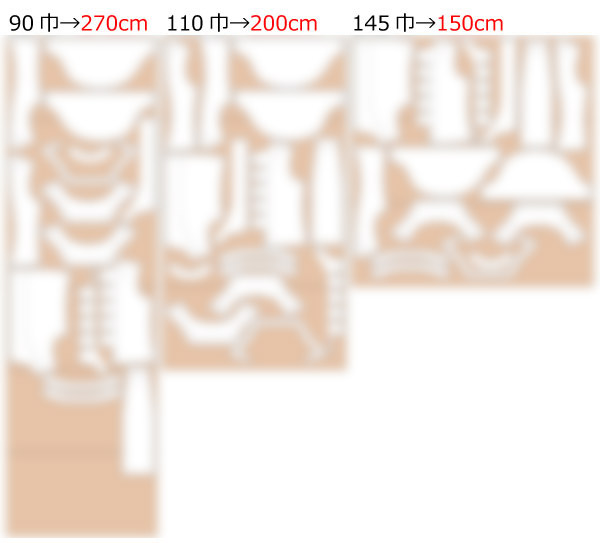
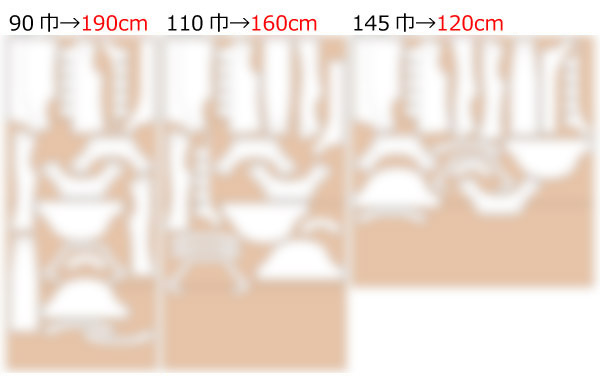
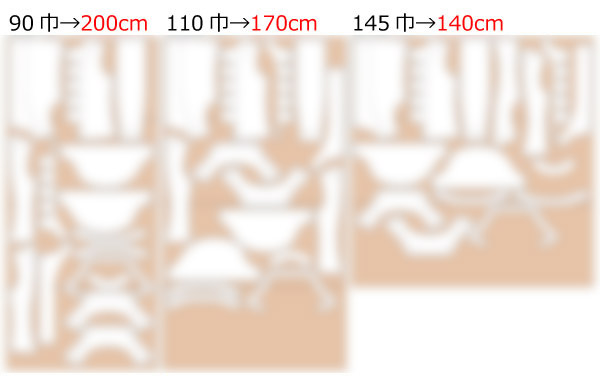
While the pattern for the gathered frill around the collar is not included, the required fabric measurements are provided. You can either purchase lace trim or make your own to use.
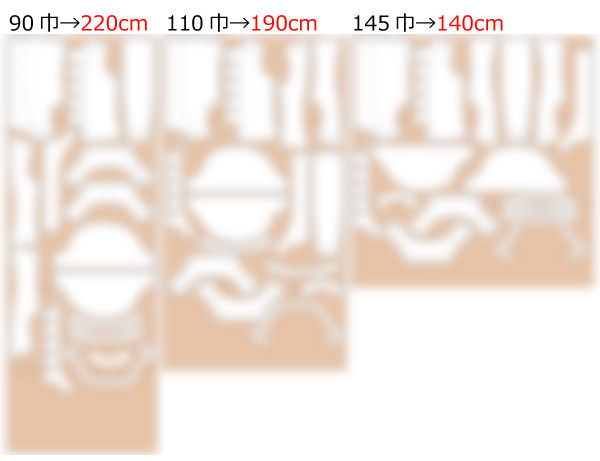
After printing, paste it according to the pasting line,Cut and use.
The pattern has a seam allowance, so it can be used as is.


I'm not so good at English.
So all explanations/instructions were translated using AI.
This is not always perfect and I apologise for any parts that are difficult to follow.
* Before cutting, fit the pattern to your body to check the length.
* This design does not include a hem at the original length.
* If you want to make it shorter, adjust the cutting lines before cutting.
(1) Stitch the darts on the "Front bodice" and "Back bodice". Press the seam toward the center.
![]() Please refer to this page for how to sew darts.
Please refer to this page for how to sew darts.
(2) Attach the "Pocket" to the pocket position.
* You can attach the "Pocket" on one side or both sides.
(3) Finish the shoulders and sides of the "Front bodice" and "Back bodice". Stitch them together and press the seam open.
![]() Please refer to this page for how to serge or overlock (sewing machine and overlock sewing machine).
Please refer to this page for how to serge or overlock (sewing machine and overlock sewing machine).
(4) Apply fusible interlining to the "Collar" and "Collar stand".
(5) Place the "Collar" right sides together. Stitch, turn inside out, and press.
* Before turning, trim the seam allowance to about 2mm.
(6) Place the "Collar stand" right sides together and sandwich the "Collar". Stitch, turn inside out, and topstitch.
* Fold the seam allowance of the "Body" side by 1cm (0.5in) before sewing. This makes it easier.
(7) Fold the fold lines of the "Front bodice" twice and topstitch.
* You can fold them to the front or back.
(8) Make a three-fold at the fold lines of the "Front bodice" and topstitch.
(9) Sandwich the "Body" with the "Collar stand" and stitch.
(10) Finish the sides of the "Sleeve". Stitch and press the seam open. Add gathers at the gathering positions.
![]() Please refer to this page for how to make gathers using a sewing machine.
Please refer to this page for how to make gathers using a sewing machine.
(11) Apply fusible interlining to the sleeve hem. Stitch the sides. Fold the seam allowance inward by 1cm (0.5in) to prepare for attaching.
(12) Attach the sleeve hem to the "Sleeve".
(13) Attach the "Sleeve" to the "Body" and finish the armhole.
![]() Please refer to this page for how to sew sleeves and sleeve cuffs.
Please refer to this page for how to sew sleeves and sleeve cuffs.
(14) Finish the hem of the "Body" with bias tape or overlock. Fold it up by 1cm (0.5in) and stitch.
![]() Please refer to this page for how to make bias tape.
Please refer to this page for how to make bias tape.
![]() Please refer to this page for how to sew bias tape.
Please refer to this page for how to sew bias tape.
(15) Make buttonholes and sew on buttons.
If you cannot see the SHOP due to 403 error
Price: ¥700 (JPY)
Approx. USD — / EUR — (for reference)
![]()

shoulder width14.6in bust33.3in length22in 23sheets of A4 size(or legal size)
Sleeve parts 46 size
shoulder width15.4in bust36.2in length23.6in 25sheets of A4 size(or legal size)
Sleeve parts 49 size
shoulder width15.7in bust39.4in length24in 26sheets of A4 size(or legal size)
Sleeve parts 52 size
shoulder width16.1in bust41.7in length24.6in 30sheets of A4 size(or legal size)
Sleeve parts 54 size