


![]()
Comments are made using translation software.
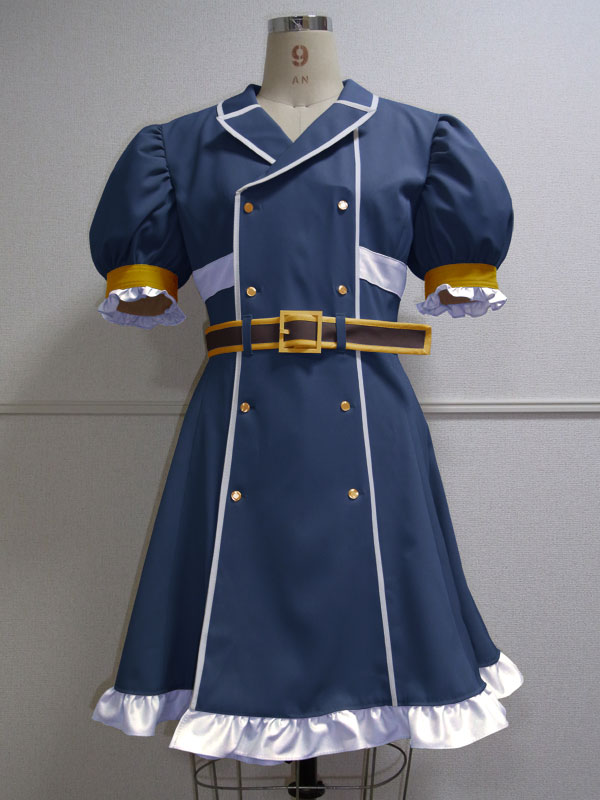
This is a pattern for a double-button dress, which has been requested frequently.
While it appears to have a tailor collar, it is actually divided into a collar and false lapel, making it a faux tailor collar.
For those who are not fond of tailor collars, this is very easy because it only involves sandwiching the collar in the facing.
It's drafted with princess lines, so the lines up to the skirt are very clean.
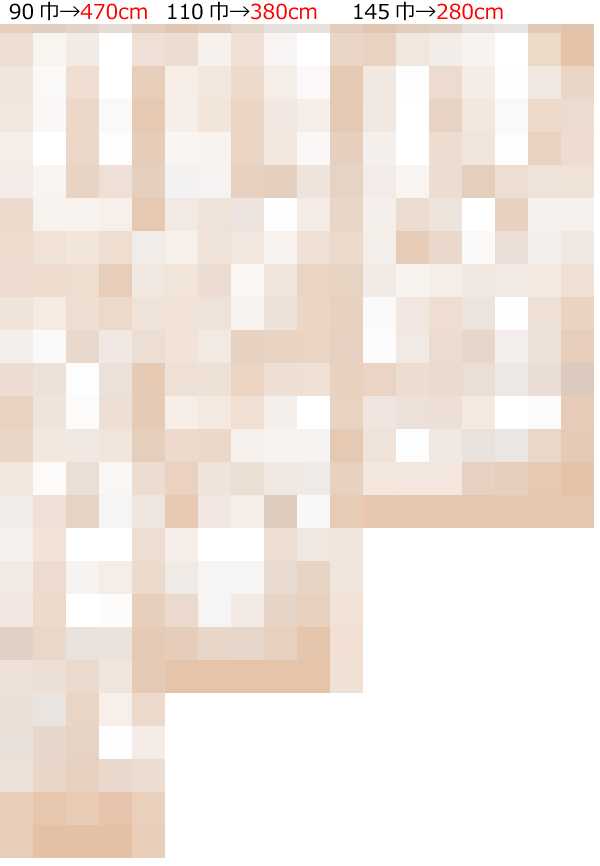
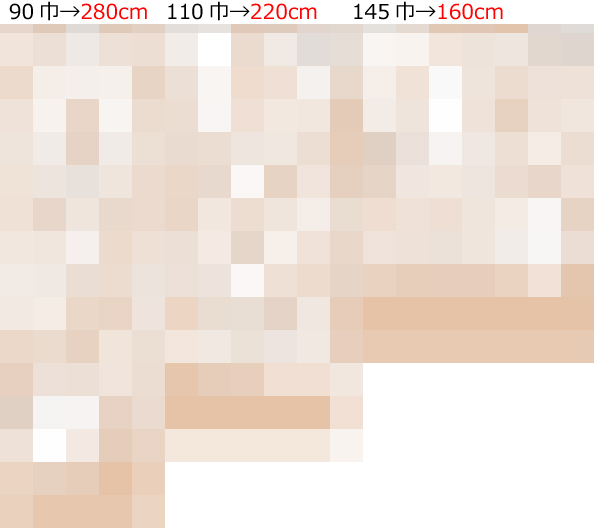
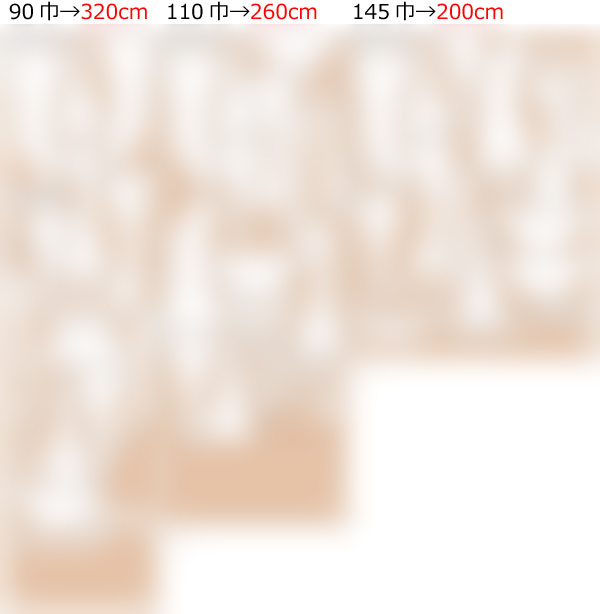
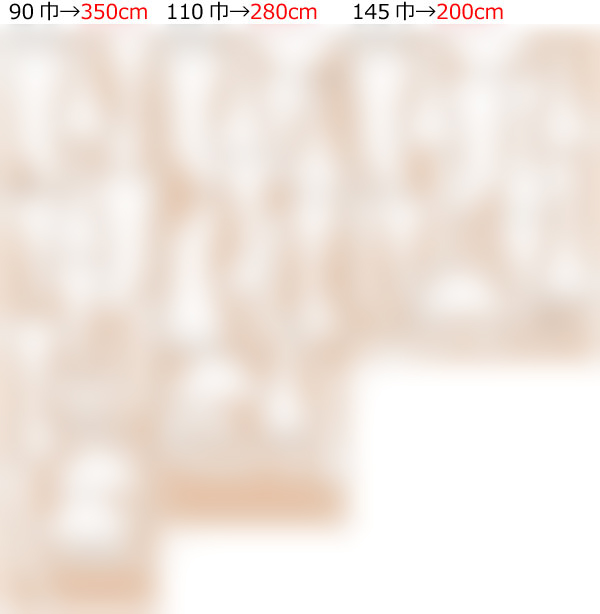
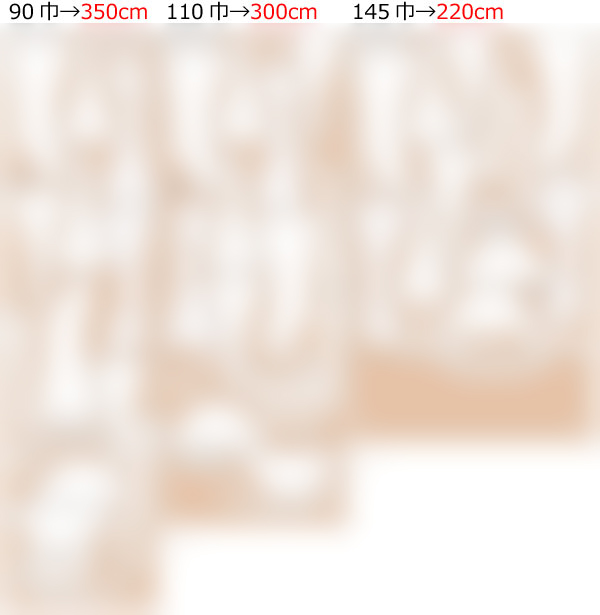
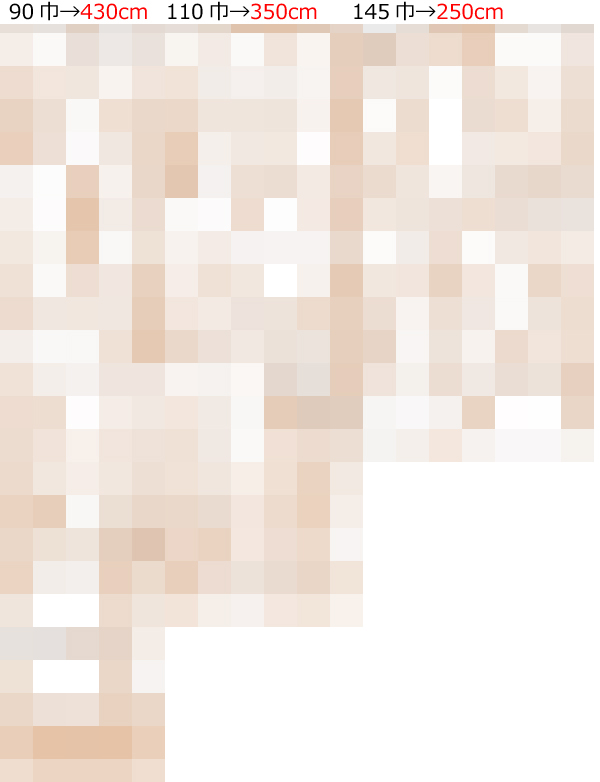
Although the pattern for frills is not included, the required amount of fabric for making frills is mentioned.
After printing, paste it according to the pasting line,Cut and use.
The pattern has a seam allowance, so it can be used as is.


I'm not so good at English.
So all explanations/instructions were translated using AI.
This is not always perfect and I apologise for any parts that are difficult to follow.
When making it with lining, please refer to the "facing" line and create a lining pattern.
(1) Apply fusible interlining to the "facing" front and back, fake Lapel, "Collar", and "Cuff", then sew the "facing" together, press open the seam allowance (S/A) with an iron, and Serge/overlock the edges.
![]() How to Serge/overlock (sewing machine & overlock sewing machine)
How to Serge/overlock (sewing machine & overlock sewing machine)
(2) Finish the fake Lapel by sewing bias tape to both sides.
(3) Finish the "Collar" by sewing bias tape to both sides.
(4) Serge/overlock the shoulder and side of the "Front bodice", shoulder, side, and Back center line of the "Back bodice", and both sides of the "Front bodice side" and "Back bodice side".
(5) Join the "Front bodice", "Front bodice side", "Back bodice side", and "Back bodice" at the shoulder and side, press open the seam allowance (S/A) with an iron, and Serge/overlock the hem.
(6) Fold the "decorative belt" along the fold line and stitch it to the attachment position of the "Body". *This step is unnecessary if not using the "decorative belt".
(7) Sew flat bias tape to the bias tape position on the left "Front bodice" (left front only).
(8) Align and temporarily attach the fake Lapel and "Collar" to their positions.
(9) While sandwiching the fake Lapel and "Collar" in the "Body", sew the "facing" in place.
(10) When turning the "facing" inside out, cut the areas where the seam allowance (S/A) might bulge or become rough and finish the hem. *When finishing the hem, sew the gathered frill together.
(11) Process the bias tape at the front end bias tape position of the "Body".
(12) Sew buttons to the right front of the "Body" at the button positions and make buttonholes on the left front.
*Make sure to make the buttons and buttonholes separately for each "facing" to secure the "facing".
(13) Sew the "Cuff" into a loop, press open the seam allowance (S/A) with an iron, and sew the gathered frill while sewing.
(14) Serge/overlock the sides of the "Sleeve" and press the seam allowances open with an iron.
(15) Gather at the shoulder and hem positions, insert the "Cuff" into the "Sleeve" hem, and sew it in place.
(16) Attach the "Sleeve" to the "Body" and Serge/overlock the armhole.
(17) To prevent the fake Lapel from floating up, sew the back side of it to the "Collar" where it's not visible.
(18) Create a belt loop and attach it to the four positions of the "Body".
If you cannot see the SHOP due to 403 error
Price: ¥800 (JPY)
Approx. USD — / EUR — (for reference)
![]()

shoulder width13.8in bust29.9in length28.5in 20sheets of A4 size(or legal size)
Sleeve parts 42 size
shoulder width16.3in bust33.7in length31.3in 25sheets of A4 size(or legal size)
Sleeve parts 45 size
shoulder width16.7in bust37in length32.3in 25sheets of A4 size(or legal size)
Sleeve parts 47 size
shoulder width17.1in bust39.8in length33.3in 28sheets of A4 size(or legal size)
Sleeve parts 50 size
shoulder width17.5in bust42.1in length34.4in 28sheets of A4 size(or legal size)
Sleeve parts 52 size

shoulder width18.5in bust43.7in length36in 31sheets of A4 size(or legal size)
Sleeve parts 55 size
shoulder width18.9in bust45.5in length37.2in 33sheets of A4 size(or legal size)
Expanded sleeve parts 56 sizes to 103.8%