


![]()
This is a simple mini hat sewing pattern and tutorial.
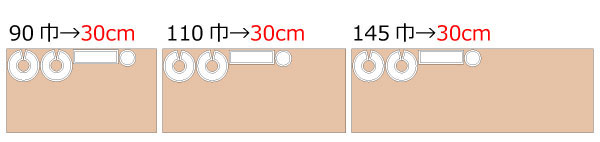
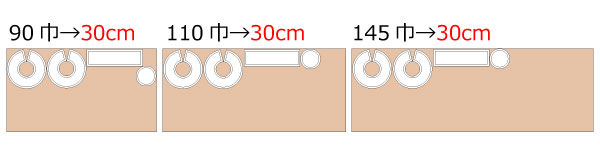
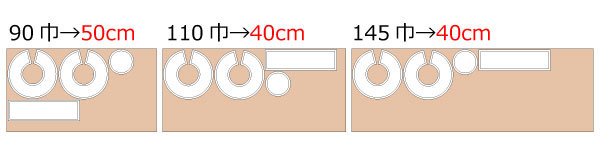
The top part is about 10 cm in diameter. The brim is slightly larger, so please adjust the size of the pattern smaller to match your design image.
This pattern is useful for cosplay costumes or gothic lolita fashion .
For the inner structure, we recommend using commercial fusible interfacing or stabilizer instead of cardboard.
If you use cardboard, moisture may cause stains to appear on the fabric, and the hat shape may easily crease or break. Please use a proper heavy-weight fusible interfacing for a durable and neat finish.
Since it’s a small hat, you may find it difficult to sew with a sewing machine, but it can also be hand-sewn. In that case, shape it with an iron before sewing for easier assembly.
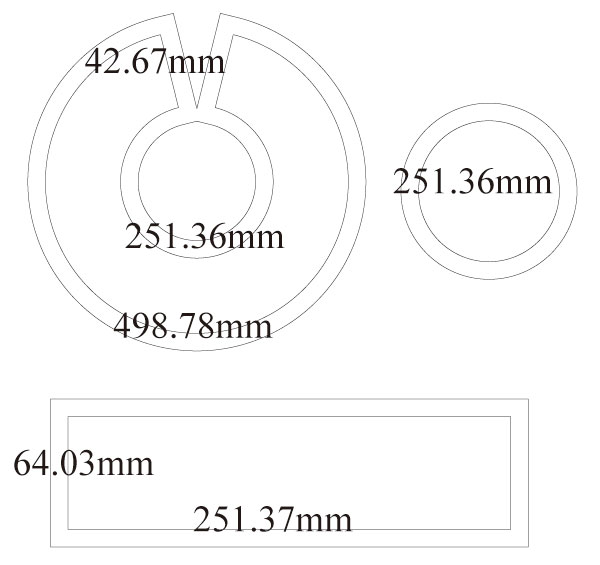
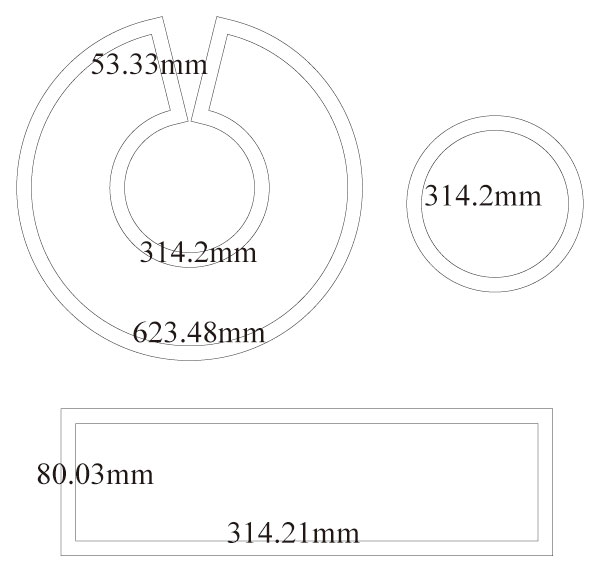
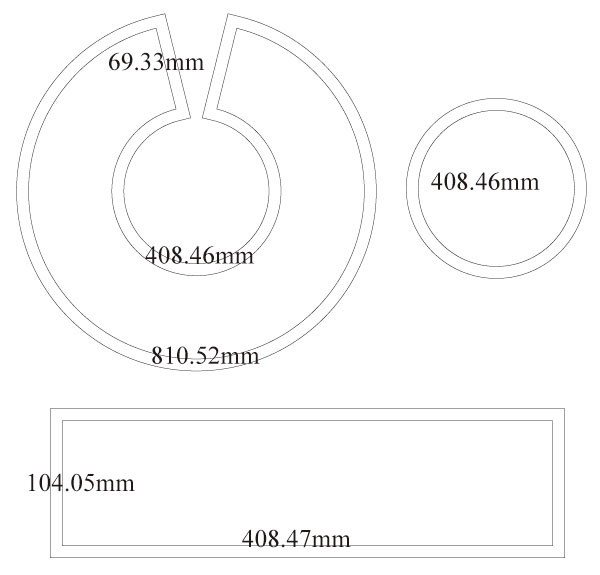
After printing, align and paste the pages along the matching lines, then cut along the pattern. Seam allowances are already included, so you can use it as-is.

* Basically, trim off any extra seam allowances.
(1) Apply stiff fusible interfacing to one piece each of the top, side, and brim.
* Use a heavy fusible interfacing for bags—it is thick and helps the hat keep its shape.
(2) Sew the side pieces together into a loop, press the seam allowances open with an iron, and topstitch along the seam.
(3) Sew the brim pieces together, turn it right side out, and topstitch around the edge.
(4) Sew the top and side together. (If using a sewing machine is difficult, hand sewing is fine.)
(5) Sew the side and brim together. (If using a sewing machine is difficult, hand sewing is fine.)
![]()
Free Paper Patterns are possible because of your support.
If you use our patterns, please share them on social media and tell your friends.
Your support helps DRCOS continue to provide patterns in the future.
![]()
![]()
Ladies'-S
top8cm 3sheets of A4 size(or legal size)

Ladies'-S
top3.1in 3 sheets of letter size

Ladies'-M
top10cm 5sheets of A4 size(or legal size)
Ladies'-M
top3.9in 4 sheets of letter size
Ladies'-L
top13cm 6sheets of A4 size(or legal size)
Ladies'-L
top5.1in 6 sheets of letter size


