Grainline and "Cut on Fold" Description
In sewing patterns, you often see terms like "Grainline," "cut on fold," and "symmetry." These are important basics to understand when using pattern paper.
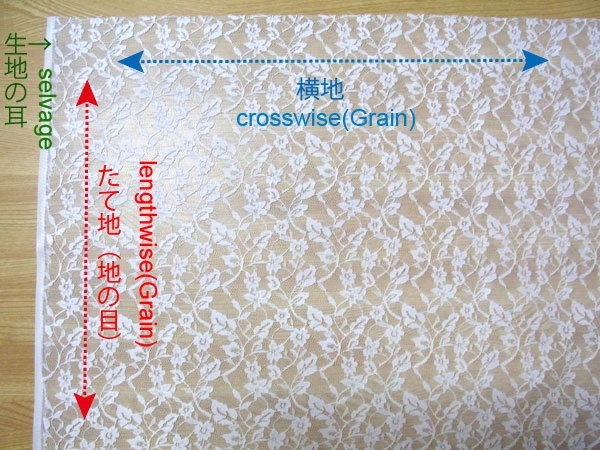
The red dotted line along the selvage is the "lengthwise grain."
The blue dotted line is the "crosswise grain."
While the "lengthwise grain" hardly stretches, the "crosswise grain" is stretchable depending on the fabric.
If you are not sure, pull the fabric: the side that does not stretch is the "lengthwise grain."
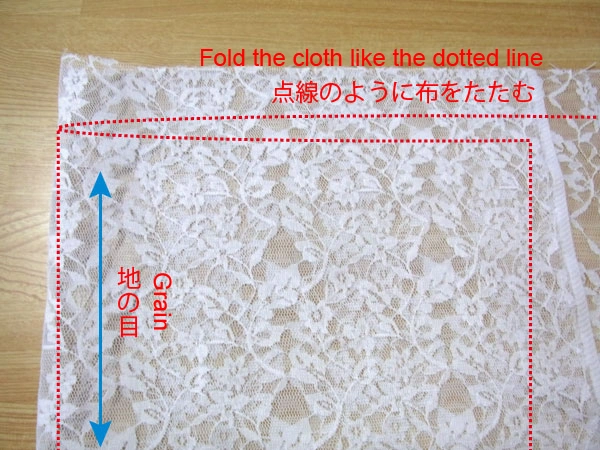
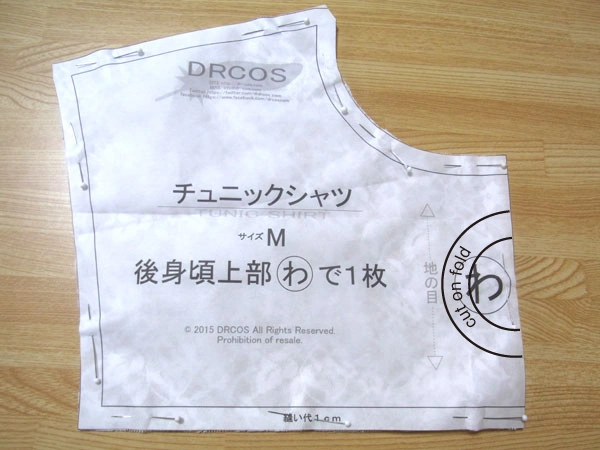
Fold the fabric in two as shown in the photo, according to the size of the paper pattern.
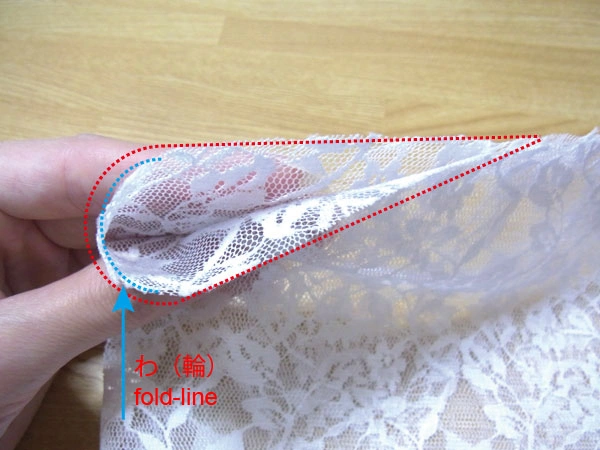
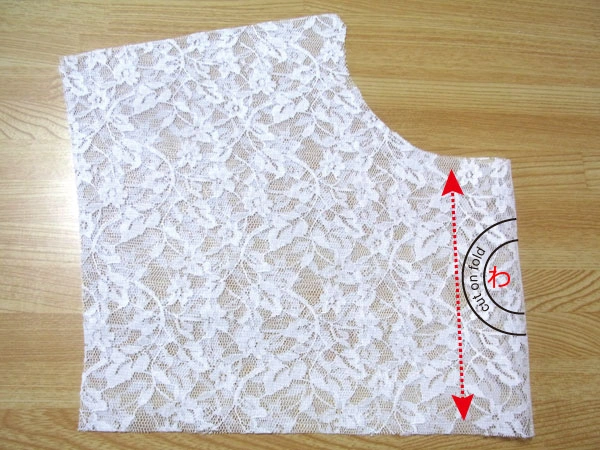
From the side view, the fold line is where the "cut on fold" should be aligned.
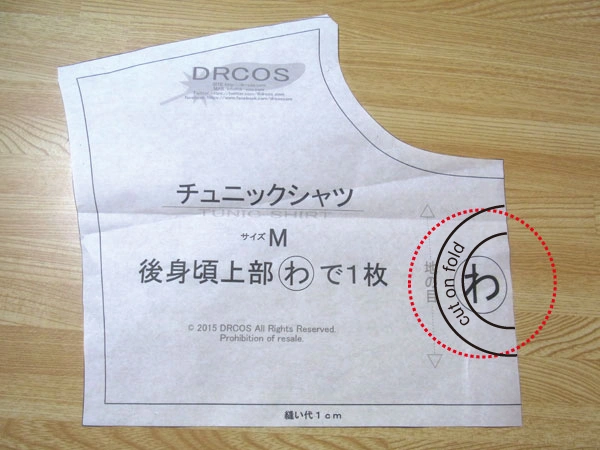
The "cut on fold" mark on the right edge indicates that the fabric should be cut symmetrically.
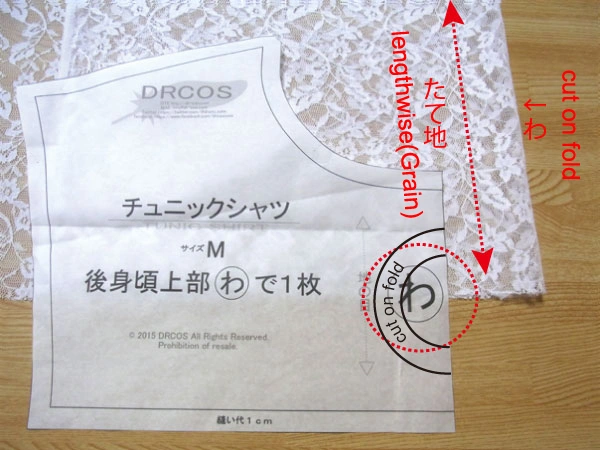
The grainline runs along the fold.
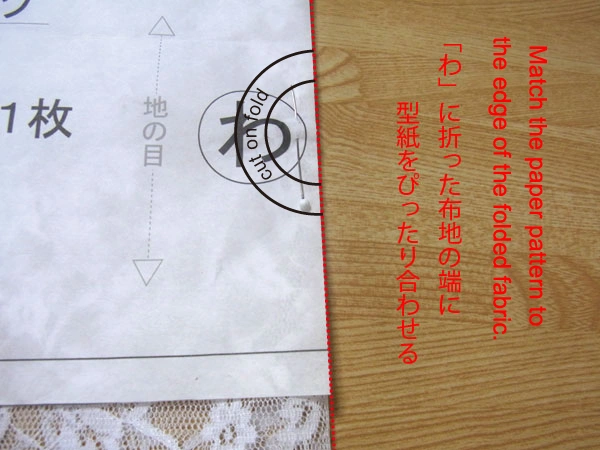
Align the "cut on fold" edge of the paper pattern exactly with the fold line of the fabric.
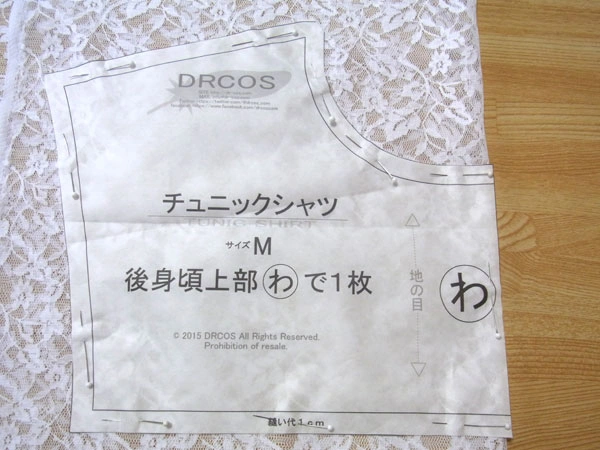
Once aligned, fasten the paper pattern to the fabric with marking pins.
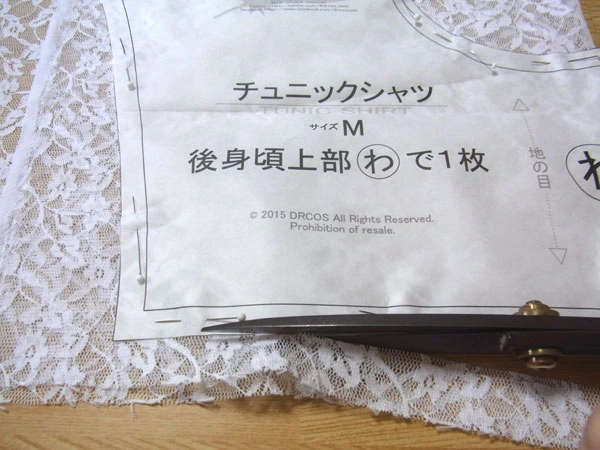
Cut the fabric with fabric scissors.
After cutting, remove the marking pins. If basting or marking with a pencil is needed, do it at this time.
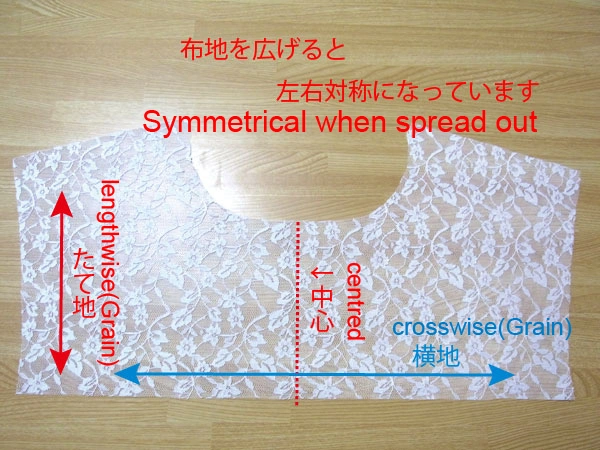
The cut-out fabric will be symmetrical when unfolded.
The advantages of using "cut on fold" are:
Symmetrical pieces only need to be cut in half.
Paper patterns are only half the size.
Basting and marking can be done on both sides at the same time.


