


![]()
Comments are made using translation software.
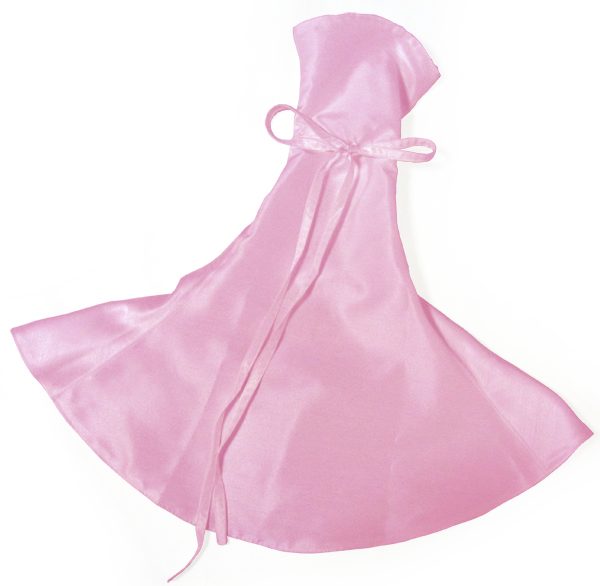
This is a pattern and method for making trumpet-shaped sleeves that expand toward the hem of the sleeve.
When making a sleeve that expands toward the hem, it is impossible to express the expanse with a single piece of paper.
The part where the line doesn't come out nicely is divided into three pieces of pattern paper to bring out the line nicely.
These sleeves are often seen in cosplay costumes.
It is easy to make, even for beginners, because you only need to sew them together and take care of the seam allowance.
Please adjust the pattern according to your image by putting strings through, changing the shape, and so on.
When using polyester material that is difficult to shape, press seam allowances open and sew with stitches to create a clean line.
In the reference photo, a back satin fabric with press seam allowances open is used to create a Japanese-style finish.
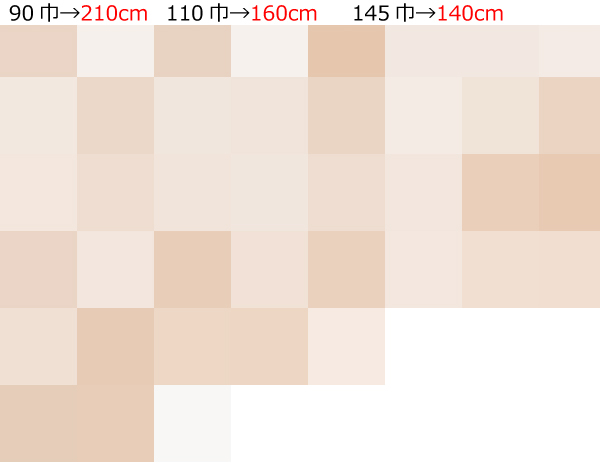
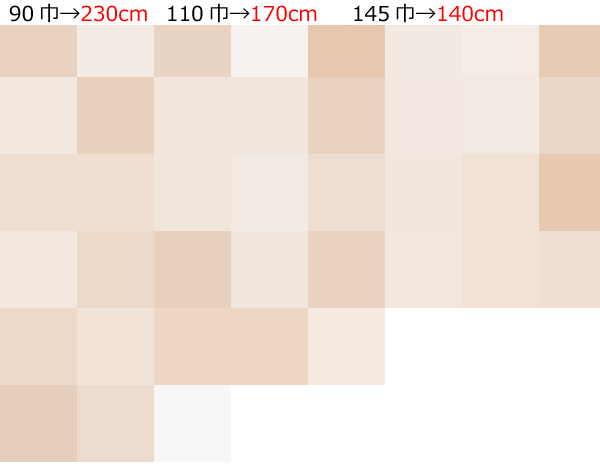
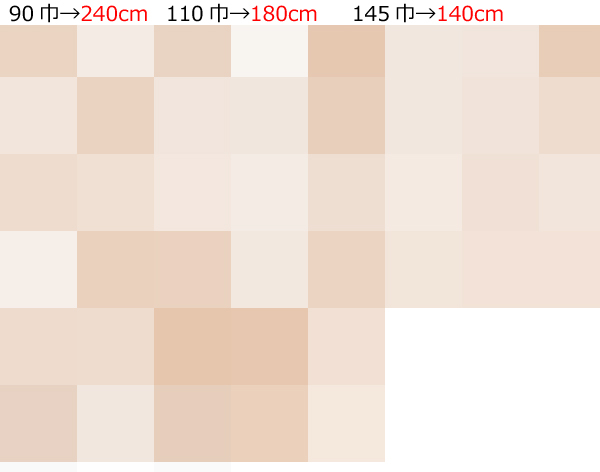
After printing, paste it according to the pasting line,Cut and use.
The pattern has a seam allowance, so it can be used as is.

I'm not so good at English.
So all explanations/instructions were translated using AI.
This is not always perfect and I apologise for any parts that are difficult to follow.
(1) Sew together the right side edges with a sewing machine and press open the seam allowance with an iron.
(2) Sew together the right side and right side edges with a sewing machine, forming a tube, and press open the seam allowance with an iron.
* If the angles of the sewn seam allowance (S/A) are tight, make notches before turning inside out to prevent puckering.
(3) Fold the upper circumference of the Sleeve inward by 1cm with an iron to shape it.
(4) Create the lining in the same way as the right side, following steps (1) to (3).
(5) Align the hem of the Sleeve parts right sides together, sew with a sewing machine, then turn inside out and settle with an iron.
* If the settling with an iron is insufficient, settle with topstitching.
(6) Align the upper circumference of the Sleeve and sew together with topstitching.
If you cannot see the SHOP due to 403 error
![]()

upperarms8.9in length19.7in 6sheets of A4 size(or legal size)
upperarms9.6in length25.4in 10sheets of A4 size(or legal size)
upperarms10.4in length26in 10sheets of A4 size(or legal size)
upperarms11.2in length26.6in 12sheets of A4 size(or legal size)
upperarms12in length27in 12sheets of A4 size(or legal size)
upperarms12.8in length27.6in 12sheets of A4 size(or legal size)

upperarms13.6in length28.1in 13sheets of A4 size(or legal size)